Tag: nail care

  • How to Remove Gel Polish at Home Without Damaging Your Nails

    How to Remove Gel Polish at Home Without Damaging Your Nails

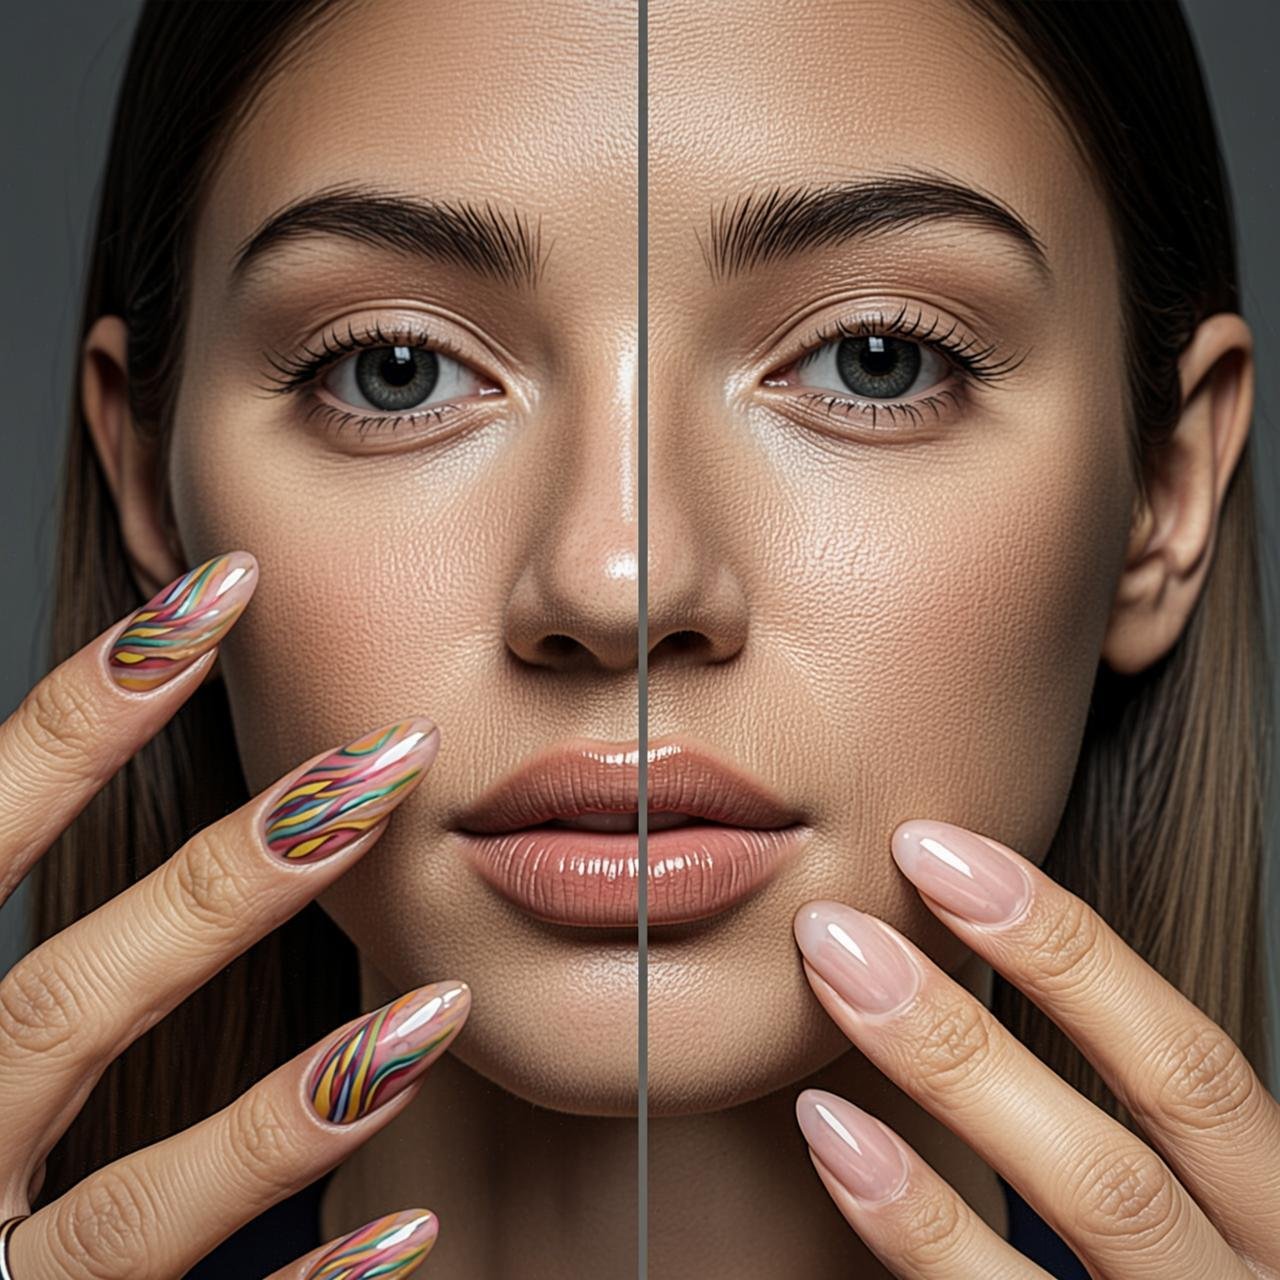
    featured image showing healthy natural nails after gel polish removal

    Gel manicures are a miracle for anyone who wants chip-free, glossy nails for weeks. However, the most dangerous part of a gel manicure isn’t the application—it’s the removal. If you have ever peeled or chipped your gel polish off, you know the devastating damage it can cause to your natural nail plate. Learning how to remove gel polish safely is the ultimate secret to maintaining healthy, strong nails.

    Many people resort to scraping the polish off with their fingernails or using metal tools to pry it off. This rips off the top layers of your natural nail, leaving them thin, weak, and painfully sensitive. By mastering the correct how to remove gel polish techniques, you can transition between manicures without sacrificing your nail health. If you need visual inspiration for your next manicure after removal, be sure to explore our Pinterest boards. In this comprehensive step-by-step guide, we will teach you exactly how to safely remove gel polish at home.

    Why Safe Gel Polish Removal Matters

    understanding the importance of safe gel polish removal to prevent nail damage

    Before diving into the removal process, it is important to understand why proper removal is so crucial. Gel polish is designed to adhere tightly to the natural nail. It is cured (hardened) under a UV or LED lamp, creating a chemical bond that doesn’t just wash off with regular nail polish remover.

    When you force this bond apart by peeling, you cause structural damage to the nail bed. This can lead to white patches, peeling layers, and even permanent nail bed separation. To ensure your nails stay strong enough to support future acrylic nail designs 2026, you must use a gentle, chemical-based removal process that breaks the bond without breaking the nail.

    What You Need to Remove Gel Polish

    Having the right tools is half the battle when learning how to remove gel polish. Using the wrong tools can lead to disaster. Here is what you need:

    essential tools needed to learn how to remove gel polish at home
    • 100% Pure Acetone: Regular nail polish remover is not strong enough. You need pure acetone to break down the gel polymers.
    • Cotton Balls or Pads: You will need these to hold the acetone against your nails.
    • Aluminum Foil: Cut into small squares, this is used to wrap the fingertips and trap the heat, accelerating the removal process.
    • A Wooden Orange Stick: A cuticle pusher made of wood is the safest tool for gently scraping off the softened gel. Never use metal tools.
    • Nail Buffer and File: A coarse file to break the topcoat, and a fine buffer to smooth the natural nail afterward.
    • Cuticle Oil and Hand Cream: To replenish moisture after the drying acetone process.

    Step-by-Step Guide: How to Remove Gel Polish

    Ready to safely remove your manicure? Follow these five easy steps for a flawless, damage-free removal.

    Step 1: File Off the Topcoat

    filing off the topcoat in step 1 of how to remove gel polish

    This is the most crucial step in learning how to remove gel polish. The shiny topcoat is what protects the gel underneath from regular acetone. Take a coarse nail file and gently buff away the shiny top layer of your gel polish. You don’t need to file all the way down to your natural nail; just remove the shine. If the gel looks cloudy and matte, you have filed enough.

    Step 2: Soak the Cotton in Acetone

    soaking cotton in acetone for step 2 of how to remove gel polish

    Soak a cotton ball or pad in 100% pure acetone. Make sure it is thoroughly saturated but not dripping. Place the wet cotton directly onto your fingernail. If you have sensitive skin, you can apply a layer of petroleum jelly around your cuticles to protect it from the drying effects of the acetone.

    Step 3: Wrap in Foil

    wrapping nails in foil for step 3 of how to remove gel polish

    Take a pre-cut square of aluminum foil and wrap it tightly around your fingertip, securing the soaked cotton ball against the nail. The foil traps body heat, which helps the acetone break down the gel polymers faster. Repeat this for all your fingers on one hand.

    Step 4: Wait 10 to 15 Minutes

    waiting for the acetone to work in step 4 of how to remove gel polish

    Patience is key. Let your nails soak for at least 10 to 15 minutes. Do not try to rush the process by pulling the foil off early. If the gel hasn’t fully lifted, you will end up scraping and damaging your natural nail. While you wait, you can catch up on your favorite beauty blogs or read our guide on the best hair care routine for damaged hair to pass the time.

    Step 5: Gently Push Off the Gel

    gently pushing off softened gel with an orange stick in step 5 of how to remove gel polish

    After 15 minutes, remove the foil one finger at a time. Take your wooden orange stick and gently push the gel polish from the cuticle down toward the tip of the nail. The gel should flake off easily. If it is still stubbornly stuck, re-wrap it in foil with fresh acetone for another 5 minutes. Never force it off.

    How to Care for Your Nails After Removal

    applying cuticle oil for aftercare when learning how to remove gel polish

    Once you have successfully learned how to remove gel polish, the aftercare is just as important as the removal. Acetone is incredibly drying, and your natural nails will likely feel weak and brittle.

    1. Wash Your Hands: Wash your hands with soap and water to remove any lingering acetone or gel dust.
    2. Buff Gently: Lightly buff the surface of your natural nails to smooth out any ridges or remaining gel residue.
    3. Hydrate: Apply a generous amount of cuticle oil to your nail beds and massage it in. Follow up with a thick hand cream to restore moisture to your skin.
    4. Take a Break: Give your nails a break from gel for at least a week. Let them breathe and recover. To keep them looking polished without chemicals, follow a strict nail care routine and simply use a clear strengthening base coat.

    For more daily beauty, fashion, and lifestyle tips, be sure to follow our Facebook page where we share daily updates!

    Frequently Asked Questions (FAQs)

    1. Can you remove gel polish with regular nail polish remover?

    No, regular nail polish remover is not strong enough. To remove gel polish, you must use 100% pure acetone. Regular remover contains water and moisturizers, which prevent the acetone from breaking down the cured gel polymers.

    2. How long should I soak my nails in acetone?

    You should soak your nails in acetone for 10 to 15 minutes. If the gel polish does not slide off easily with a wooden stick after 15 minutes, you should re-wrap the nail for another 5 minutes. Never force the gel off.

    3. Is it bad to peel off gel polish?

    Yes, peeling off gel polish is incredibly bad for your nails. Gel polish bonds to the top layers of your natural nail. When you peel it off, you rip those layers off with it, causing severe thinning, peeling, and damage to the nail bed.

    4. How do I keep my nails healthy after removing gel?

    To keep your nails healthy after gel removal, apply cuticle oil daily to hydrate the nail plate. Use a strengthening clear polish, avoid using your nails as tools, and give your nails a break from gel or acrylic manicures for at least a week to allow them to recover.

    5. Can I remove gel polish without acetone?

    While there are acetone-free gel removers on the market, they are generally less effective and take much longer. Acetone is the most efficient way to break down the gel. To protect your skin from the acetone, apply petroleum jelly around your nails before soaking.

    confident women with healthy nails after mastering how to remove gel polish

    Conclusion

    Mastering how to remove gel polish safely is a vital skill for any beauty enthusiast. By filing the topcoat, using pure acetone, and gently pushing off the softened gel, you can completely avoid the damage caused by peeling or scraping. Remember to always prioritize aftercare by moisturizing your cuticles and giving your natural nails a break between manicures. With a little patience and the right technique, your nails will remain strong, healthy, and perfectly prepped for your next stunning manicure!

  • Acrylic vs Gel Nails: Which Manicure is Best for You?

    Acrylic vs Gel Nails: Which Manicure is Best for You?

    If you love keeping up with the latest beauty trends, you’ve likely found yourself staring at the salon menu, completely torn between two popular options: acrylic and gel. The debate of acrylic vs gel nails is one that every beauty enthusiast eventually encounters. Both offer stunning, long-lasting results, but they are fundamentally different in how they are applied, maintained, and removed.

    Choosing the right manicure isn’t just about picking the prettiest color; it’s about understanding what your natural nails need, your lifestyle, and how much time you’re willing to invest in upkeep. Whether you are looking for inspiration on Pinterest for your next salon visit or just trying to understand the hype, knowing the facts is essential. In this comprehensive guide, we will break down everything you need to know about acrylic vs gel nails so you can make an informed decision on your next salon visit.

    comparison of acrylic vs gel nails showing long acrylics and short natural gel nails

    What Are Acrylic Nails?

    application process of acrylic nails in the acrylic vs gel nails debate

    Acrylic nails have been a staple in the beauty industry for decades. They are known for their durability and ability to add significant length to short or bitten natural nails.

    An acrylic manicure involves mixing a liquid monomer with a powder polymer to create a paste. This paste is then applied directly to the natural nail (often over a plastic tip or form) and left to air dry. Once dry, the acrylic hardens into a tough, protective shell that can be filed and shaped into whatever length or style you desire. If you want to see some stunning examples of what this material can do, check out these trendy acrylic nail designs 2026 to get inspiration for your next appointment.

    The Pros of Acrylic Nails

    • Incredible Durability: Acrylics are incredibly hard. If you work with your hands or are prone to breaking nails, acrylics offer a tough shield that protects your natural nails underneath.
    • Extreme Length: Because they are so strong, acrylics can extend the nail far beyond its natural length without bending or snapping. This makes them perfect for dramatic shapes like stiletto or coffin.
    • Cost-Effective: Generally, acrylic manicures are slightly cheaper than gel extensions, making them a budget-friendly option for long-term wear.
    • Easy to Fix: If an acrylic nail breaks, a nail tech can easily patch it with a bit more acrylic mixture, saving the whole manicure without needing a full replacement.

    The Cons of Acrylic Nails

    • Harsh Chemicals: The application process involves strong fumes from the liquid monomer, which can be overwhelming in poorly ventilated salons.
    • Appearance: If not applied perfectly or if they begin to lift, acrylics can look slightly thicker and less natural than gel nails.
    • Nail Damage: The removal process requires soaking in pure acetone and often heavy filing. If done improperly, it can severely thin your natural nails.

    What Are Gel Nails?

    high-gloss natural finish of gel nails compared in acrylic vs gel nails

    Gel nails have surged in popularity over the last few years, becoming the go-to choice for those who want a natural-looking, glossy finish. Unlike acrylic, gel polish comes in a bottle and is applied similarly to traditional nail polish. However, it cures (dries) under a UV or LED lamp rather than air-drying.

    There are two main types of gel manicures: soft gel (regular gel polish that soaks off easily) and hard gel (which is used to build out the length and structure of the nail, similar to acrylic, but cures under a light). If you’ve browsed the latest gel nail designs 2026, you’ve likely seen the beautiful, high-shine results this method produces.

    The Pros of Gel Nails

    • Natural Look and Feel: Gel is much lighter and thinner than acrylic. It conforms to the natural shape of your nail bed, giving a highly realistic appearance.
    • High Gloss Shine: The shine of a gel manicure is unmatched. It stays glossy for weeks without dulling, giving your hands a constantly fresh look.
    • No Harsh Fumes: Gel application is odorless, making the salon experience much more pleasant for both you and the nail technician.
    • Faster Curing: Because gel cures under a UV/LED lamp in seconds, the application process is generally faster than waiting for acrylic to air dry.

    The Cons of Gel Nails

    • Less Durable: Gel is more flexible than acrylic, which means it can be more prone to peeling or chipping if you use your nails as tools.
    • UV Light Exposure: The curing process requires UV light. While the risk is low, some people prefer to wear fingerless UV-protective gloves during the curing process to protect their skin.
    • Harder to Repair: If a gel nail breaks, it cannot be easily patched. You usually have to remove the gel on that finger and reapply it entirely.

    Acrylic vs Gel Nails: The Key Differences

    UV lamp curing process for gel nails in the acrylic vs gel nails comparison

    To truly settle the acrylic vs gel nails debate, let’s compare them side-by-side across four main categories: durability, application, removal, and nail health.

    1. Durability and Strength

    If you want unbreakable nails, acrylic is the winner. Its rigid structure makes it highly resistant to impact. Gel nails, while durable, are softer and more flexible. If you have a highly active lifestyle or do a lot of manual typing, housework, or crafting, acrylic will likely hold up better. However, if you treat your hands gently, gel will easily last you two to three weeks without chipping.

    2. Application Process

    Acrylic application requires skill to mix the right ratio of liquid to powder. It smells strong and takes time to shape before it air-dries. Gel application is smoother and cleaner. The tech brushes on the gel, puts your hand under the lamp for 30-60 seconds, and the polish is instantly hardened. This makes gel a much quicker process for simple manicures.

    3. Removal Process

    Neither acrylic nor hard gel should be peeled off at home—doing so will rip off the top layers of your natural nail. Both require soaking in acetone. However, soft gel polish is generally easier and faster to soak off than acrylics. Acrylics often require 20-30 minutes of soaking in pure acetone, followed by gentle filing to remove the remaining residue.

    4. Nail Health and Safety

    Neither option is inherently “good” for your nails, as both require the natural nail plate to be filed down slightly for adhesion. However, gel is generally considered slightly safer for the nail bed because it is more flexible and moves with the natural nail. Acrylic’s rigidness can cause the natural nail separation if the acrylic is snagged. To see what shapes work best for different nail types, you can explore these beautiful nail designs 2026 and discuss them with your technician.

    How to Choose Between Acrylic vs Gel Nails

    Still not sure which one is right for you? Here is a quick checklist to help you decide based on your lifestyle:

    Choose Acrylic Nails If:

    • You want extreme length (like long stiletto or coffin shapes).
    • You work with your hands and need heavy-duty, unbreakable nails.
    • You are on a tighter budget.
    • You love the look of intricate, 3D nail art that requires a strong, thick base.

    Choose Gel Nails If:

    • You prefer a natural, lightweight feel on your fingers.
    • You want a high-gloss, glass-like finish that lasts for weeks.
    • You are sensitive to strong chemical smells.
    • You prefer shorter to medium-length nails (like short square or almond shapes).

    Tips for Maintaining Your Manicure

    cuticle oil maintenance tips for acrylic vs gel nails

    No matter which side of the acrylic vs gel nails debate you land on, proper aftercare is essential for making your manicure last and keeping your natural nails healthy.

    1. Moisturize Daily: Both acrylic and gel can dry out your natural nails and cuticles. Apply cuticle oil twice a day to keep the surrounding skin hydrated and prevent lifting.
    2. Wear Gloves: When washing dishes or using harsh cleaning chemicals, always wear rubber gloves. Prolonged exposure to water and chemicals breaks down the bond of both acrylic and gel.
    3. Don’t Use Your Nails as Tools: Never use your freshly manicured nails to open soda cans, scrape off labels, or pry things open. This is the number one cause of breakage for both gel and acrylic.
    4. Schedule Fills: For acrylics, you will need to get a “fill” every 2 to 3 weeks as your natural nail grows out, leaving a gap at the base. Hard gel also requires fills, while soft gel polish is usually entirely removed and reapplied.

    To stay updated on the latest beauty and nail trends, be sure to follow our Facebook page where we share daily inspiration and tips!

    Frequently Asked Questions (FAQs)

    1. Which lasts longer, acrylic or gel nails?

    Acrylic nails generally last longer than gel nails because they are harder and more rigid. While gel manicures typically last about two to three weeks before chipping or peeling, acrylics can last up to four weeks before they require a fill, provided they are applied correctly and maintained well.

    2. Are gel nails safer for natural nails than acrylic?

    Gel nails are often considered slightly safer because they are more flexible and move naturally with your nail. However, the safety of both manicures heavily depends on the application and removal processes. Proper removal (soaking in acetone rather than forcing them off) is crucial for both to prevent severe damage to the natural nail bed.

    3. Can I get gel polish over acrylic nails?

    Yes! In fact, this is a very common request at salons. A nail technician will apply the acrylic to build the length and shape, and then apply a gel polish on top for the color. This gives you the strength of acrylic combined with the high-gloss shine and color variety of gel.

    4. Why do my gel nails peel off after a few days?

    If gel nails peel off quickly, it is usually due to improper preparation of the nail bed before application. If the nail wasn’t properly dehydrated and primed, or if there was oil or lotion left on the nail, the gel will not adhere properly. Another cause could be curing the gel under an old or weak UV/LED lamp.

    5. Is the UV light used for gel nails dangerous?

    The UV lamps used to cure gel nails emit a very low level of UV radiation. While the risk is relatively low, dermatologists recommend applying a broad-spectrum sunscreen to your hands 20 minutes before your appointment or wearing fingerless UV-protective gloves during the curing process to minimize any potential skin damage.

    Conclusion

    When it comes down to acrylic vs gel nails, there is no universal “right” answer—it all depends on your personal preferences, lifestyle, and nail goals. Acrylics are the undefeated champions of strength and length, making them ideal for those who want dramatic, durable nails. On the other hand, gel nails offer a lightweight, glossy, and natural aesthetic that is perfect for those who want a low-maintenance, natural-looking enhancement.

    Whichever you choose, always ensure you go to a licensed, reputable nail technician. Proper application and safe removal are the most critical factors in ensuring your natural nails stay healthy underneath. Once you find the manicure that works for you, you can start experimenting with all the gorgeous, trendy designs the beauty world has to offer!