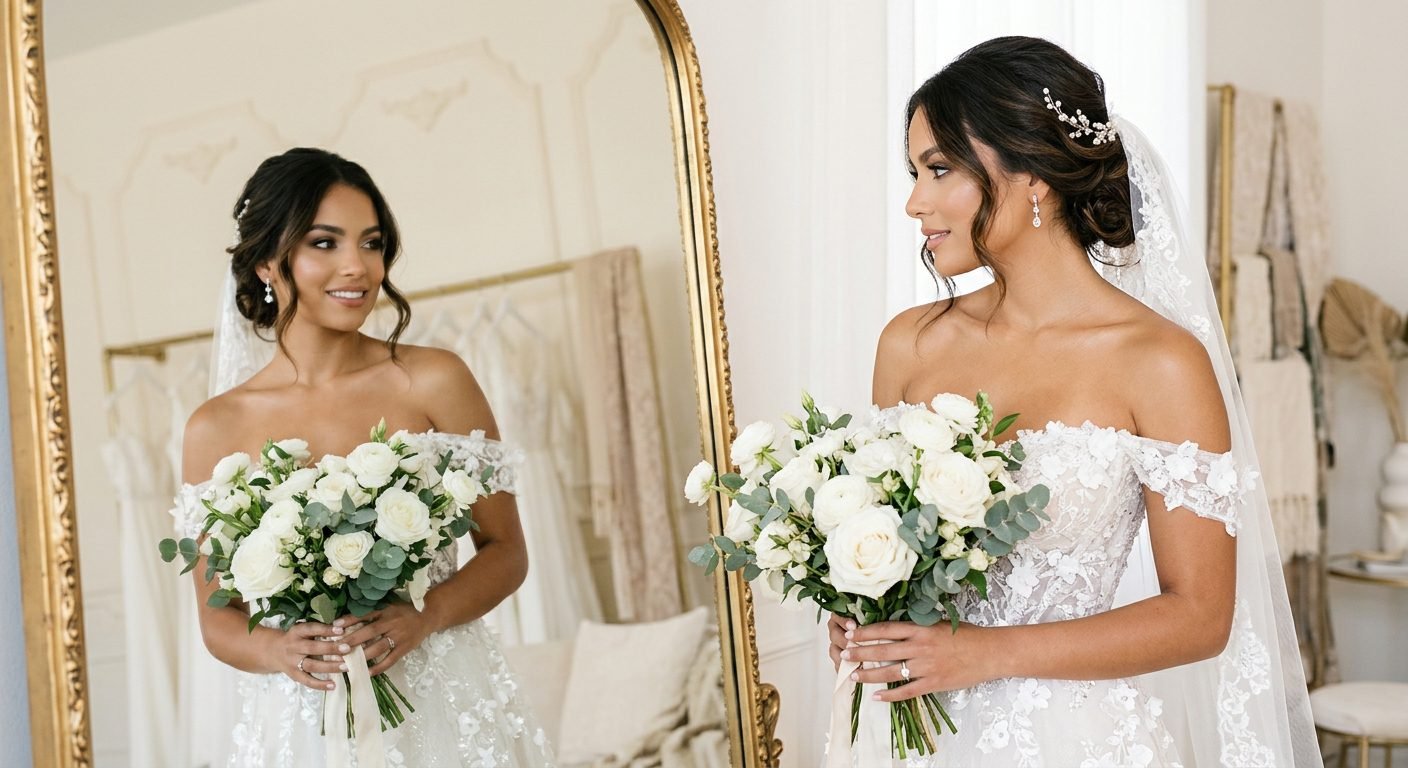
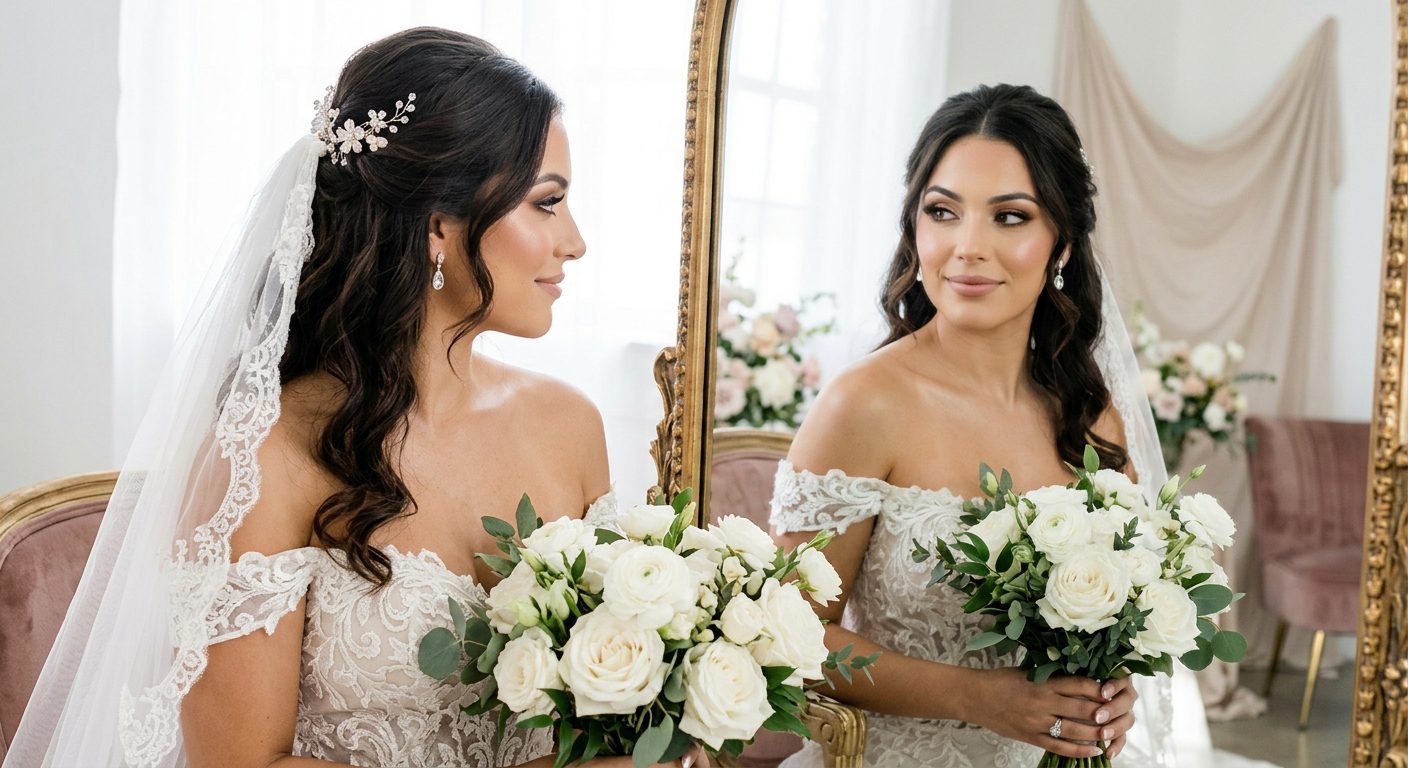
Your wedding day is a meticulously planned symphony of details, and sitting at the very center of your visual presentation is your bridal beauty look. Hiring a professional makeup artist is a luxury, but it is not a necessity. With the right techniques, high-quality products, and a bit of practice, you can absolutely do your own wedding day makeup like a pro. Not only does this save you money, but it ensures your look feels authentically you.
If the thought of DIY bridal makeup feels overwhelming, take a deep breath. In this comprehensive bridal makeup guide, we will walk you through a masterclass timeline, decoding the exact techniques you need to achieve a photogenic, budge-proof bridal look. To stay updated with the latest viral beauty trends and save your favorite looks for your practice runs, be sure to follow our Pinterest boards.
Phase 1: The Canvas (Skincare Prep Months Before)

The most flawless makeup application in the world cannot survive on dry, textured skin. The true secret to radiant bridal beauty starts months before the actual wedding day. Your skin is your canvas, and it requires a dedicated timeline of preparation.
The 6-Month Mark
This is the time to establish your skincare baseline. If you want to try intensive treatments like chemical peels or laser resurfacing, do it now so your skin has ample time to heal. Build a strict daily routine focused on hydration and protection. For a complete, step-by-step guide to achieving the perfect base, follow our detailed Skin Care Routine.
Seasonal Skin Considerations

If your wedding is in a colder month, you must combat harsh winds and indoor heating to prevent flakiness. Check out our Winter Skincare Routine for specific tips on preventing dryness so your foundation glides on perfectly. Conversely, if you are having a summer wedding, you will need to manage excess oil and sweat. Our Summer Skincare Routine offers excellent tips for keeping your skin matte and hydrated in the heat.
The Week Of

Avoid any new products. This is not the time to experiment with a new retinol or exfoliant. Stick to what your skin knows to avoid any unexpected breakouts. Focus heavily on moisturizing and drinking plenty of water.
Phase 2: The Base (Building a Flawless Complexion)

The base is the structural foundation of your entire bridal look. It must provide coverage without looking like a mask. The modern bride wants her skin to look like skin—radiant, luminous, and natural.
Priming and Complexion Correction
Primer is non-negotiable for a wedding. If you have oily skin, a mattifying silicone primer will keep shine at bay. If you have dry skin, a hydrating, glow-boosting primer will prevent the foundation from clinging to dry patches. When it comes to application, stippling the foundation into the skin with a dense brush or damp sponge provides the most natural, high-coverage finish. To master the exact technique of achieving a seamless, streak-free canvas, read our step-by-step How to Apply Foundation guide.
Concealing and Sculpting

Bridal photography can be unforgiving, especially with flash photography. You must avoid concealers or powders with high silica content, as they will cause “flashback” (the white, ghostly cast under a camera flash). Use a peach-toned color corrector under the eyes to neutralize dark circles before applying your concealer. For a natural, romantic contour, skip harsh, cool-toned powders. Instead, use a warm cream contour to softly sculpt the cheekbones and jawline. For a deeper dive into facial sculpting techniques that look incredible in photos, explore our How to Contour tutorial. To ensure your under-eye area is prepped perfectly, review our tips on How to Apply Concealer for a flawless, creaseless finish.
Phase 3: The Eyes (Creating Photogenic Artistry)

The eyes are the focal point of the bride. They convey emotion, and they are featured in every single close-up photograph. Bridal eye makeup must be soft, romantic, and expertly blended.
The Art of the Soft Smokey Eye
A warm, neutral-toned smokey eye (using browns, taupes, and soft golds) is universally flattering and incredibly photogenic. The key is diffusing the edges so there are no harsh demarcation lines. Transition shades are your best friend here. To master the exact blending techniques required for this seamless look, follow our comprehensive How to Apply Eyeshadow guide.
Eyeliner and Lashes

Skip the harsh, jet-black winged liner unless it is your signature everyday look. A softer, smudged brown or charcoal pencil along the upper lash line adds definition without closing off the eye. For lashes, strip lashes or individual clusters are essential. They open up the eyes and provide that romantic flutter in photographs. Applying false lashes can be intimidating, but with practice, it becomes second nature. Read our How to Apply False Eyelashes tutorial to ensure your lashes are perfectly placed and comfortable for the whole day.
Eyeliner for Definition
A delicate eyeliner can change the shape of your eyes in photos. If you struggle with liner application, learning the right techniques is crucial. Check out our How to Apply Eyeliner guide to master both subtle tightlining and soft wings that photograph beautifully.
Phase 4: The Pout and Flush (Color and Dimension)

Your lip color must survive kisses, champagne toasts, and hours of talking. The secret to long-lasting bridal lips is layering and staining, rather than relying on a single thick coat of gloss. The right blush will bring life back to your cheeks after the base has flattened your natural flush.
The Layering Technique for Lips
Start with a lip liner that matches your natural lip color. Fill in the entire lip with the liner—this acts as a stain that will cling to your lips even when the topcoat wears off. Next, apply a creamy, matte lipstick. Blot with a tissue. Apply a second layer. To find the perfect shade that complements your skin tone and bridal attire, browse our Best Lipstick Shades guide.
The Perfect Flush

Blush is what makes you look alive and healthy in photos. Apply a soft cream or powder blush to the apples of your cheeks and blend it upwards towards your temples. For expert techniques on blush placement and blending, check out our How to Apply Blush guide.
Phase 5: The Lock-Down (Setting and Finishing)

The final step of your DIY bridal makeup is locking everything in place. Without proper setting, even the most expertly applied makeup will slide off by the end of the night.
The Setting Spray Sandwich
Instead of just spraying setting spray at the end, try the “sandwich” method. Spray your face before you apply makeup to prep the skin. Apply your cream products, set them with a light dusting of translucent powder, and then spray again. Apply your powder products (like eyeshadow and blush), and finish with a final, heavy mist of setting spray. This layers the products and locks them together.
Blotting Papers Over Powder

Throughout the night, you will inevitably get a little shiny. Do not reach for more powder—layering powder over sweat or oil will cause your makeup to look cakey and heavy. Instead, use oil-blotting papers. They absorb the excess oil without disturbing the makeup underneath, keeping your skin looking fresh and luminous in every photo.
Bridal Beauty Synergy: Coordinating the Entire Look

Your makeup does not exist in a vacuum. It must harmonize with your hair, nails, and dress to create a cohesive bridal vision.
The Bridal Hair Connection
Your hairstyle frames your face and your makeup. If you are wearing an intricate updo, you might want softer, more romantic makeup. If your hair is worn down and natural, a slightly more polished makeup look provides beautiful contrast. To ensure your hair is as flawless as your makeup, explore our comprehensive Wedding Hairstyles Guide.
The Bridal Nail Canvas

Your hands will be featured in countless photos holding your bouquet, cutting the cake, and showcasing your new ring. A flawless manicure is essential. Whether you opt for classic French tips or elegant milky white gel, your nails must be perfectly polished. Discover the perfect manicure for your big day in our Wedding Nails for Bride lookbook.
Bridal Makeup for Beginners
If you are not a daily makeup wearer, the thought of doing your own bridal makeup can be terrifying. Start practicing months in advance. Watch tutorials, buy high-quality products, and do a full trial run. For foundational tips that every beginner needs to know, read our Makeup Tips for Beginners guide. If you prefer a very natural, understated look for your big day, our Natural Makeup Looks for Beginners article offers excellent inspiration.
Frequently Asked Questions (FAQs)
When should I do my bridal makeup trial? You should schedule your DIY bridal makeup trial 4 to 6 weeks before your wedding day. This gives you enough time to buy the products you need and to practice the look at least three times. Always take photos of the trial in natural daylight to see how it translates on camera.
How do I prevent my bridal makeup from melting off? To prevent melting, focus on skin prep (avoiding heavy moisturizers right before makeup), use a grip primer, and layer cream and powder products. Set your T-zone with translucent powder, and use a long-wearing setting spray. Avoid touching your face throughout the day.
Should I do my own wedding makeup? While DIY bridal makeup requires practice, it is highly rewarding. It saves money and ensures you look exactly how you want. If you are comfortable with basic makeup application and willing to practice, doing it yourself can be incredibly empowering. Just ensure you use high-quality, long-wearing products.
Conclusion

Your wedding day is a celebration of love, and your makeup should make you feel like the most beautiful, confident version of yourself. This bridal makeup guide proves that with the right timeline, high-quality products, and practiced techniques, you can absolutely do your own wedding day makeup like a pro. By focusing on flawless skin prep, mastering the art of soft blending, and locking your look in place, you will achieve a radiant bridal aesthetic that looks stunning in your photographs for decades to come.
We love seeing your bridal beauty looks! Tag us in your gorgeous wedding makeup photos on our Facebook page so we can feature your beautiful style. Stay radiant, stay confident, and congratulations on your big day!